I have been planning to write this post for a while, but life has been crazy…. I wish I could tell you all about it, but just know that these last few weeks have been a challenge for me- finding the time to blog let alone photograph projects!! Last week I cut some fresh peonies from the garden, placed them on the island. It was a small act that made me so happy. That afternoon, I had one hour left before the kids got off the bus, and I thought to myself…. I need to get this kitchen photographed NOW while I have peonies in it!!! So I quickly picked up straggling dishes, brushed away the crumbs, and made it look presentable. I grabbed my tripod, camera, and lenses, and I got to work! I finished just in time to make it to the bus stop.
So now, I can finally present to you….
This kitchen has been a process for us, a little bit of DIY, and a little bit of contractor help. I will take you through it all, but first let’s look back on where we started.

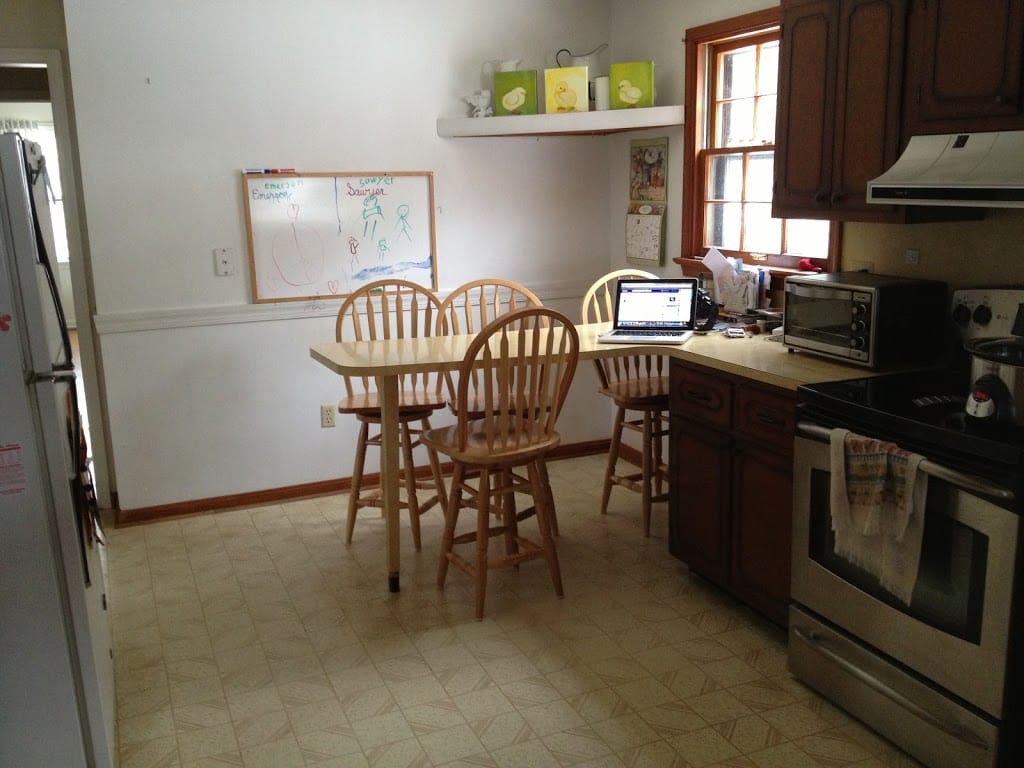
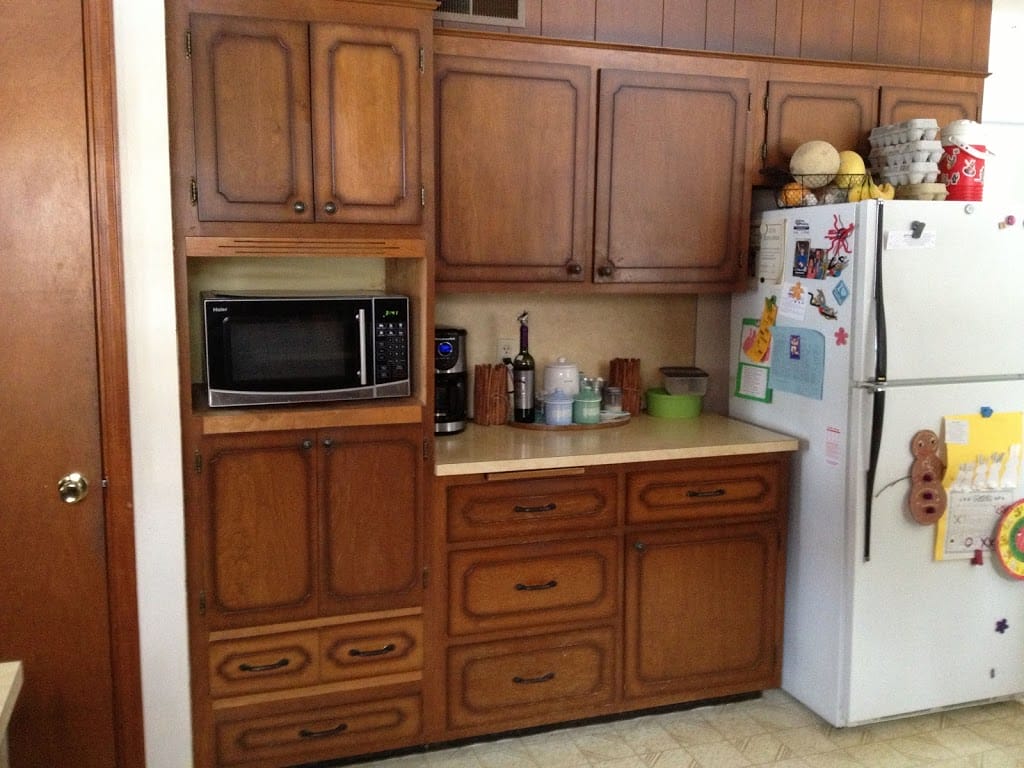
It was awful, right? Well last year we hired a contractor to knock down the wall you see in that last photo with the microwave and cabinets (but keep the pantry), remove ay remaining upper cabinets, move the refrigerator to another wall, lay down new tile floors (with inexpensive tile we found at Lowes), and install new lighting, much of which came from Lamps Plus (the dining room chandelier and the sink lighting).
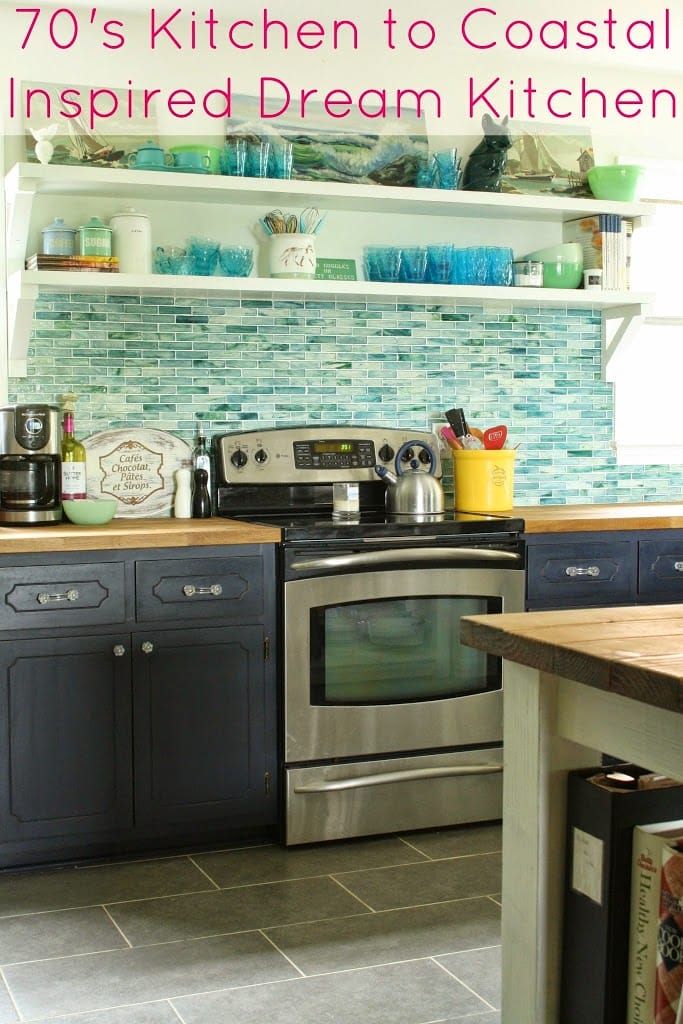
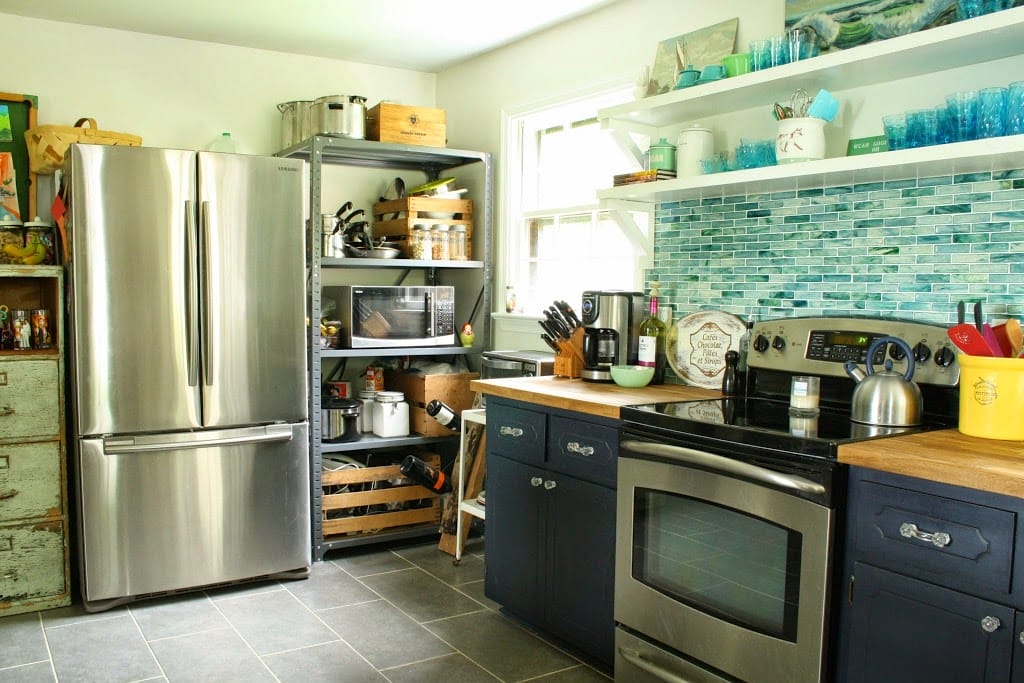
Once that work was done, I painted the remaining lower cabinets, and we had our neighbor help us out by installing Ikea butcher block countertops. We added glass knobs and pulls from D.Lawless Hardware. I painted the walls of the kitchen in Benjamin Moore’s Cloud Cover, a perfect to me white. I also painted all of the trim and windows.

We also hired our neighbor to build an island which I helped design, and I did all of the finishing work. It’s perfect and definitely the right piece for the kitchen. It’s where we eat breakfast, where I blog, where we do homework…. I really don’t know how we functioned without it!
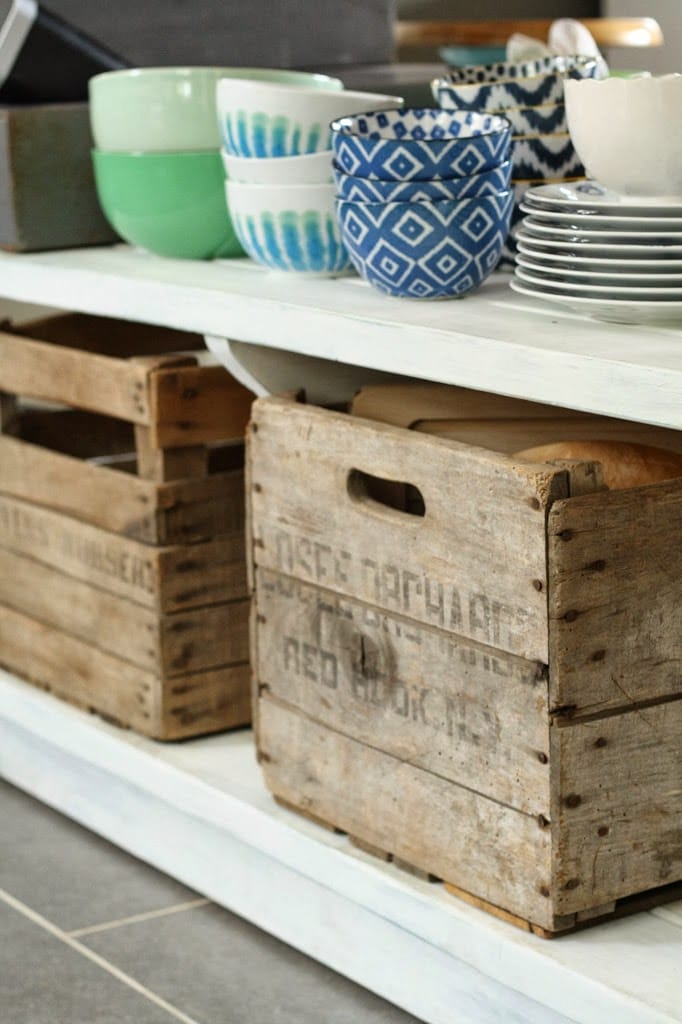
We also added an industrial metal shelf, and a vintage file cabinet in chippy green for storage on either side of the refrigerator.
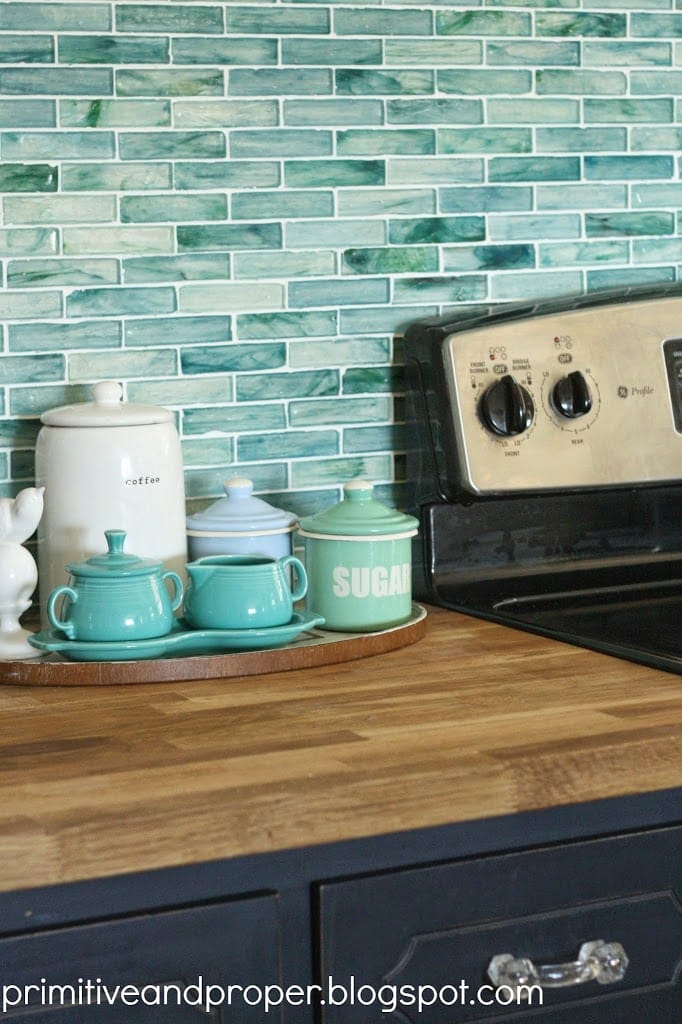
The last steps were the backsplash which I installed myself. It features gorgeous tile from The Tile Shop and just brings all of the colors of the room together perfectly.
Once the tile was installed, I hired a carpenter to create and install the exact shelves I wanted. We worked together to design them, and then he brought them over, installed them, and I painted them in place. And of course then I styled them…. I had been waiting to do that! 🙂
And now, it’s all come together and what was the eyesore of the house is now the shining star. This room is Chris’ and my favorite room. We love spending time here, and I love that it reflects us. Without further ado, let’s see how it all came together now….
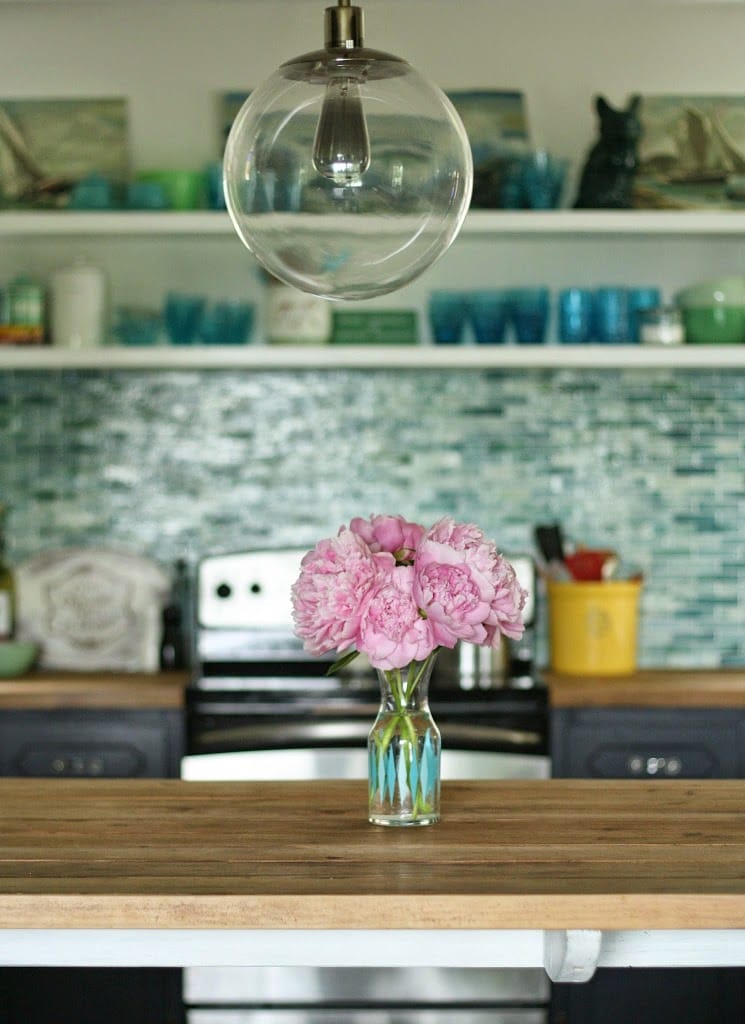
Of course, here are my pretty peonies that inspired me to get moving and take these photos!

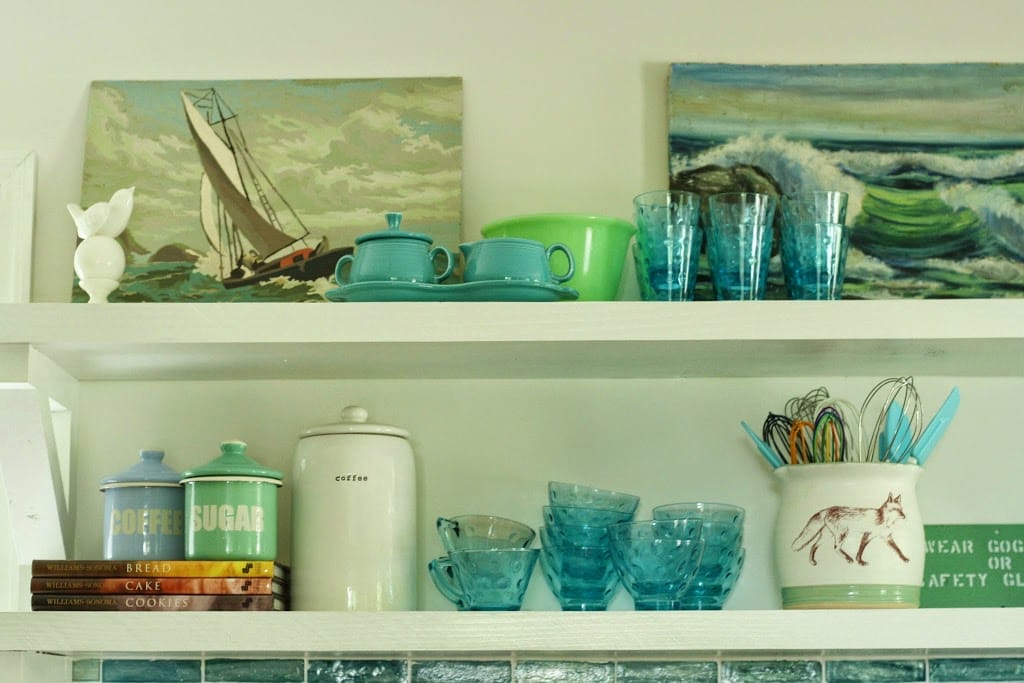
I have been hanging on to this funky vintage safety sign until these shelves were up!

The shelves are nice and thick and solid, with a simple design that allowed the tile to be the star.


Now to give you an idea of layout, what you see below is where the wall once stood dividing the kitchen and dining room. This is the view from the hallway into the kitchen.

Most people use the kitchen door to enter our home, and I used to cringe. Now, I am confident that what they see is totally me. On the far wall you can see where the new refrigerator sits, flanked by an industrial shelf, and the chippy mint green file cabinet. On the top of the file cabinet sits a vintage kids pool table top, which I use as a pinboard to share the kids art.
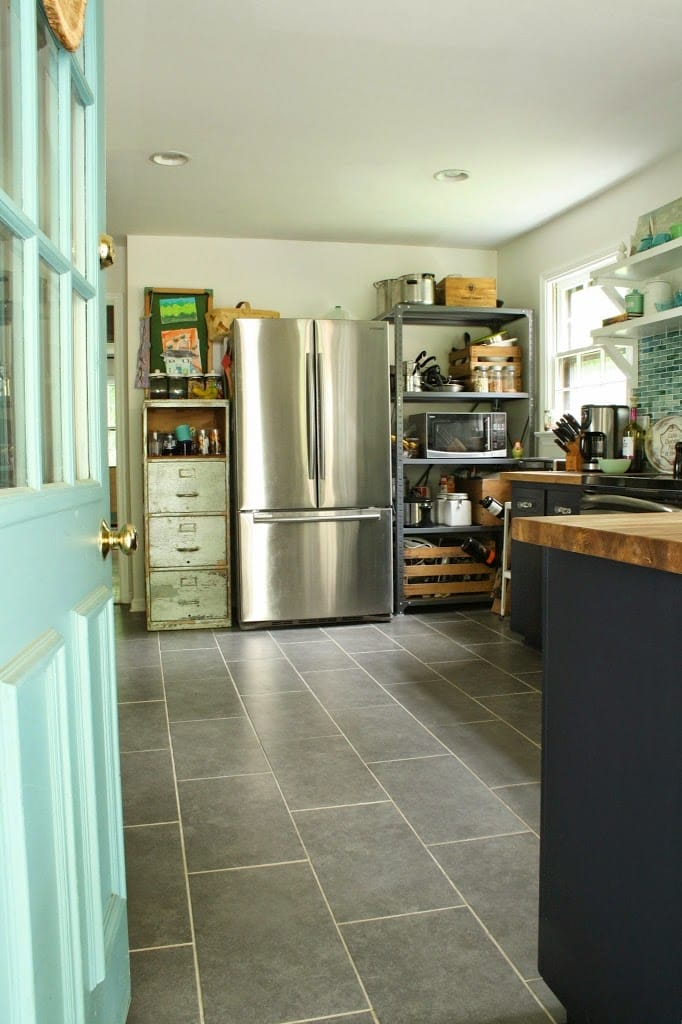
Do you like how I left my farmer’s market basket hanging off the fridge…. OOPS. That’s what happens when I try to squeeze this photoshoot in.
The island, like I said, is one of my favorite parts. It’s beautiful and stores a ton!
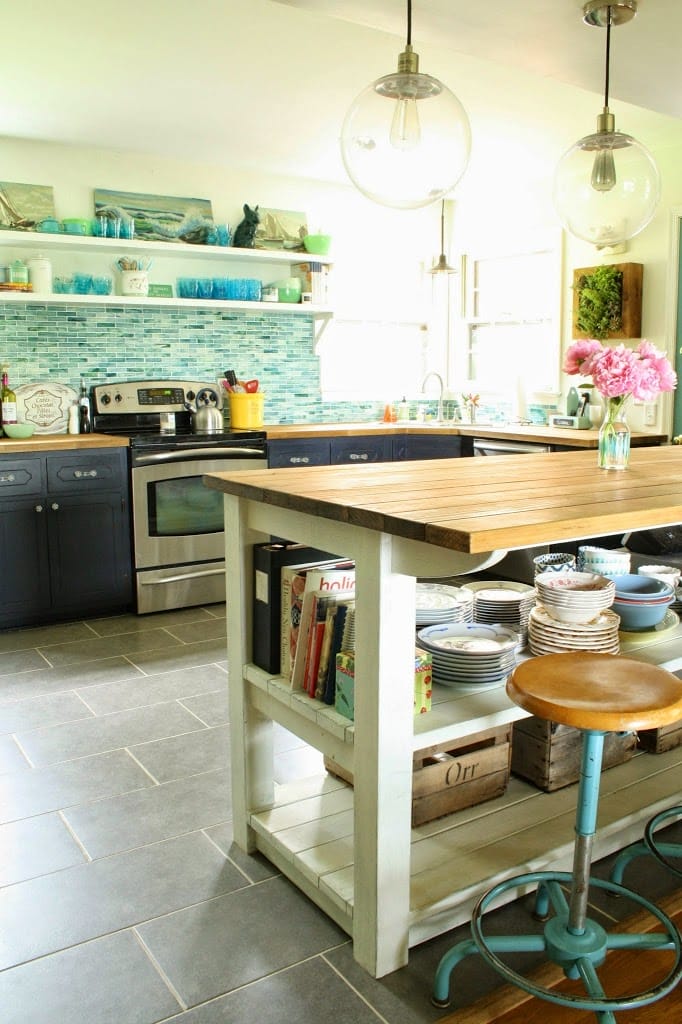
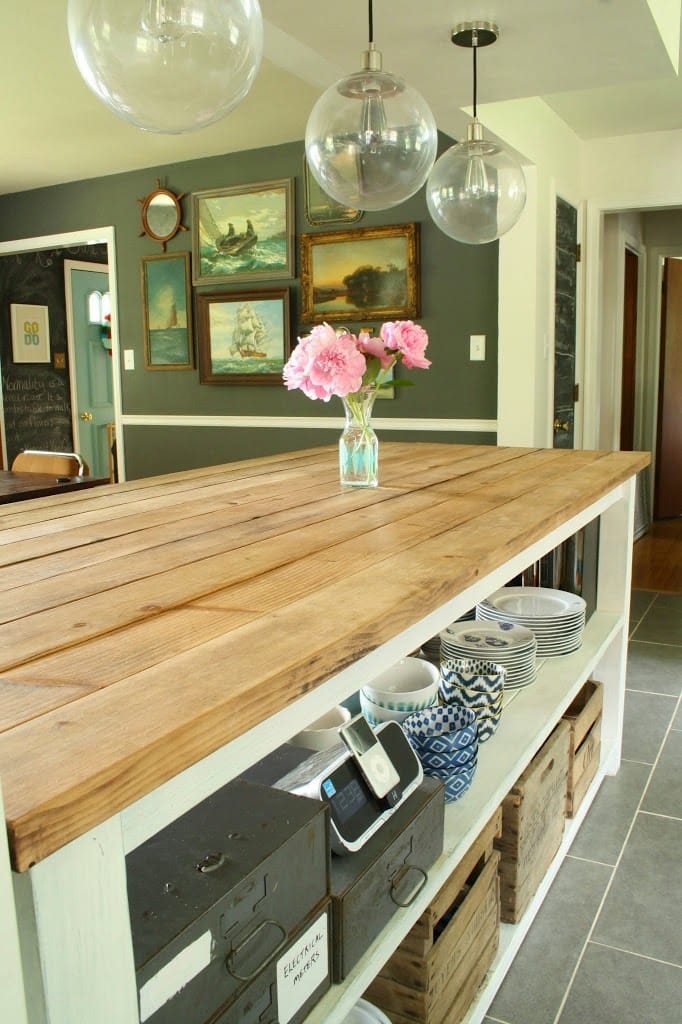
The industrial lights over the island came from West Elm, and I adore them! They keep it light and airy and add a nice industrial touch.


Looking back at those first photos of where we started blows my mind. I am thrilled that the vision I had for the kitchen has become a reality with hard work, DIY, and professional help where needed!

Thank you so much for stopping by to check it out! Come on over for coffee any time…. I won’t cringe anymore when you use the kitchen door.

Sharing here:
Inspiration Monday at Refresh Restyle, Inspire Me Monday at Sand and Sisal, Inspire Me Please at Love of Family and Home, Link Party Palooza at Tatertots and Jello