How to Make a Pom Pom Wreath… New Year’s Eve Style!
Just like that most of my Christmas 2019 posts are done, and today it’s time get in the spirit of New Year’s Eve. Do you have any big plans this year? We will just be enjoying a night at home with the kiddos, and while it will be a night like many around here, I’ve been very reflective on the year that is almost over, as well as the decade that is coming to an end. If you caught my post on Friday, you know that I’ve been participating in Marie Forleo’s end of the decade review, and I am hoping to bring a little bit of that to our New Year’s Eve as a family so we can all reflect on our best moments of the past decade, our lessons learned, and what our takeaways are for our future. The next decade is going to bring so much change for us. By the time 2030 rolls in, I will have two high school (and possibly college) graduates who are out in the world of adulthood. And I will be just beginning to navigate middle school with Wilder. I will also be a philanthropic multi-millionare (universe, you hear me?). As we head into this exciting time, and I join several others today with New Year’s Eve decor, DIY, and recipes, I wanted to create a project that was representative of all the thoughts swirling in my head. To me, the disco ball is the perfect objectification of New Year’s Eve, because as much as it represents the ball dropping, it also reflects as we do on the past, and it refracts light, often changing the direction just as we do when a new year approaches. Today I’ve created a little door decor and am going to show you how to make a pom pom wreath with disco balls. It’s cozy, reflective, and refractive, just as our New Years Eve in will be this year. At the bottom of this post you will also find links to several other bloggers sharing their New Years Eve ideas, so don’t miss those! Thank you so much to Krista at the Happy Housie for hosting. (This blog uses affiliate links).
Supplies
To make this wreath, first you will gather your supplies:
- blanket yarn (I used this gray, this taupe, and a little of this white. I love this color so much but my local store was out of it.)
- pom pom makers (I used these in large and medium)
- 12″ wire wreath frame
- silver craft wire
- disco ball ornaments
- velvet ribbon (I used black)
- very sharp scissors
- coffee
Construction
There are several ways to make a pom pom wreath. You can make all the pom poms and then add them to your wreath form, but I like to add them as I go so I don’t overmake pom poms. If you’ve ever made a pom pom and know how time consuming it can be, you understand. Each pom pom takes a few minutes or so to make, and I made around 40 pom poms for this one wreath. I was tempted to buy a larger wreath for but listen to me when I say I am glad I stuck with the 12″…. Can you imagine how many pom poms I would have had to make for the 18″? I shudder at the thought.
I am sure you can go old school and make your own pom pom makers with cardboard, but frankly, these little guys make it SO easy. If you plan on maybe making pom poms any other time in your life, they’re worth the $8 or whatever the cost. You simply wrap each side with yarn.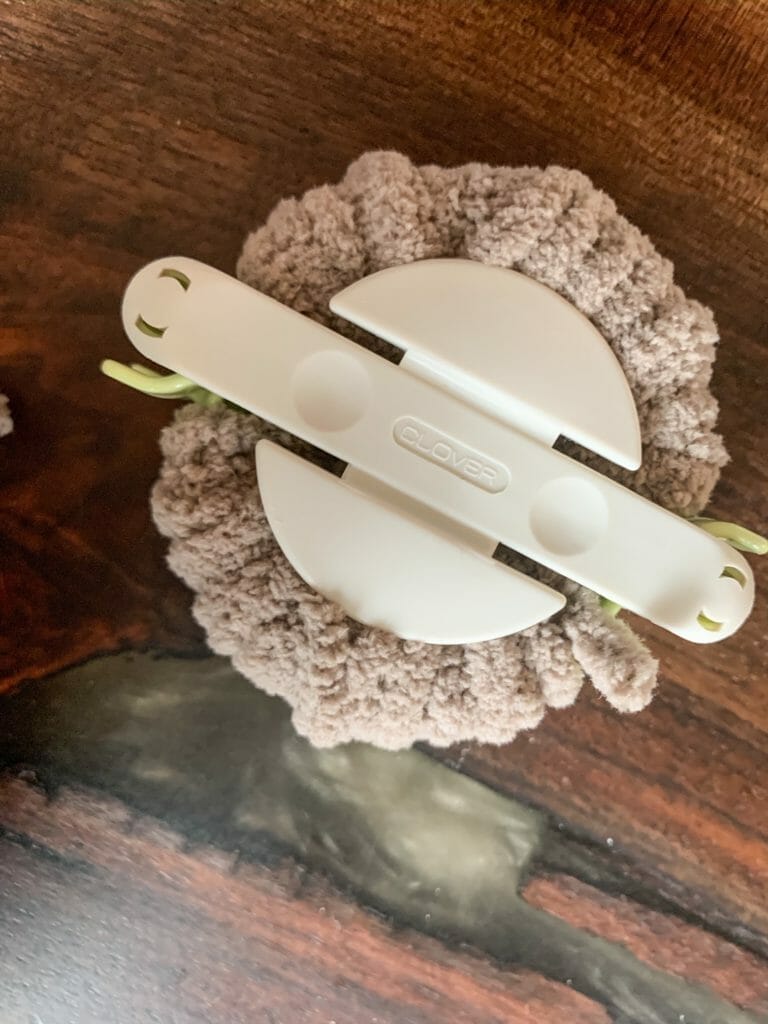
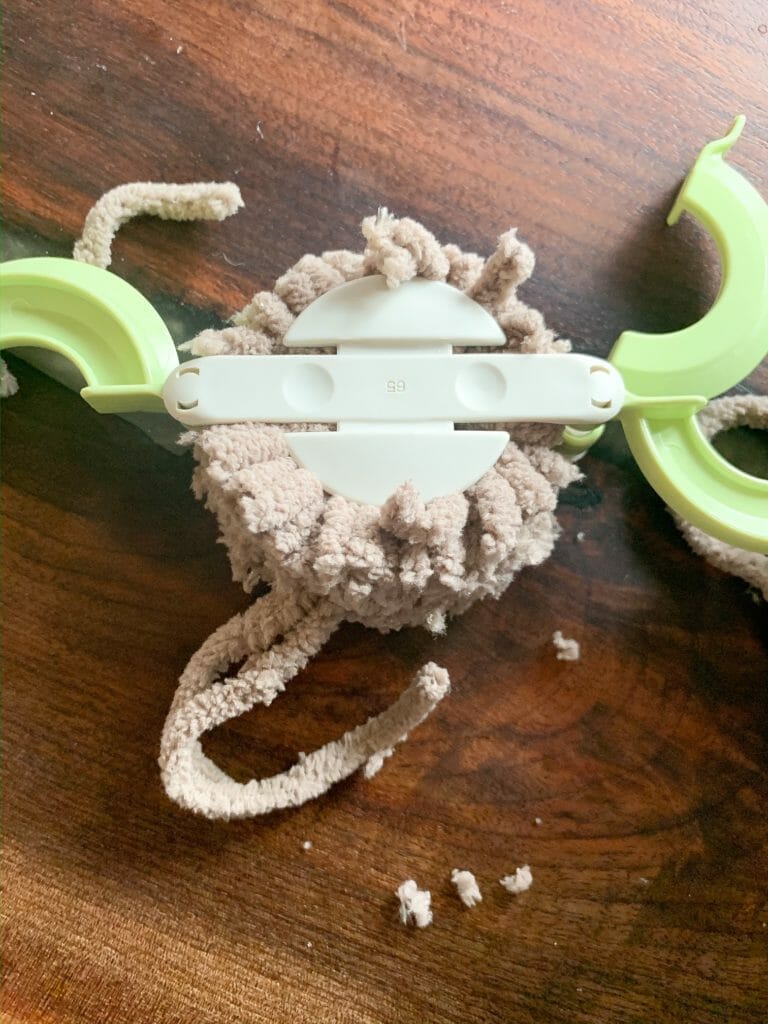
While keeping all of the parts together, you cut along the seam of the two halves.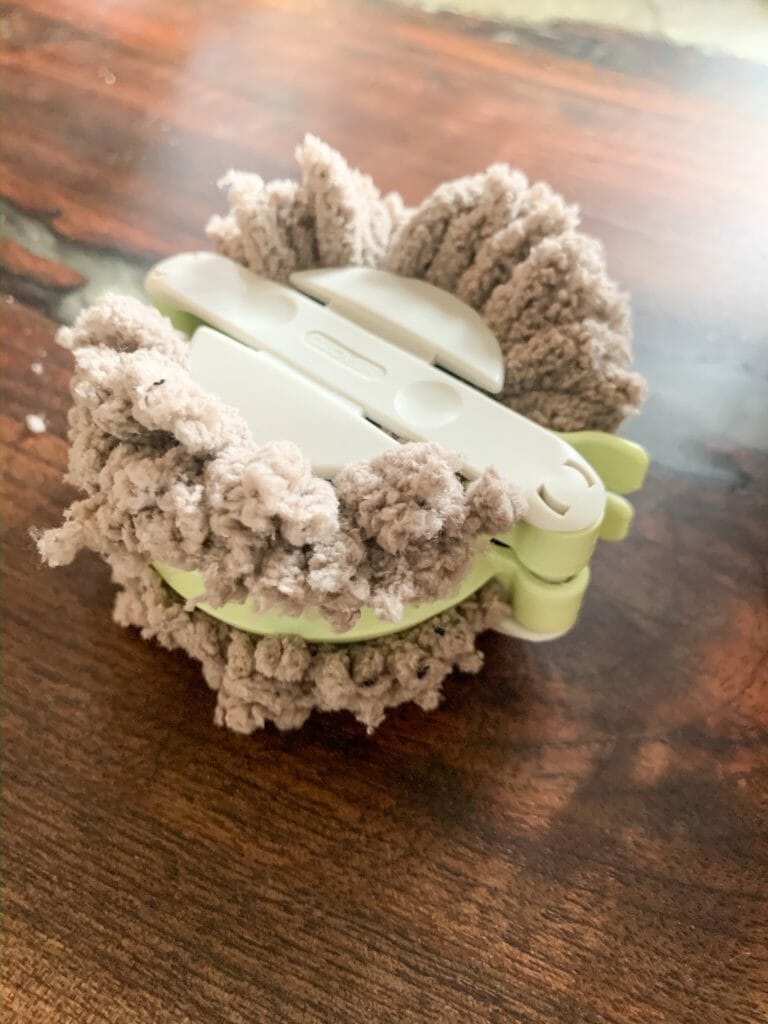
Next you take a longer piece of yarn, wrap it into the seam you just cut along, and tie it tightly. 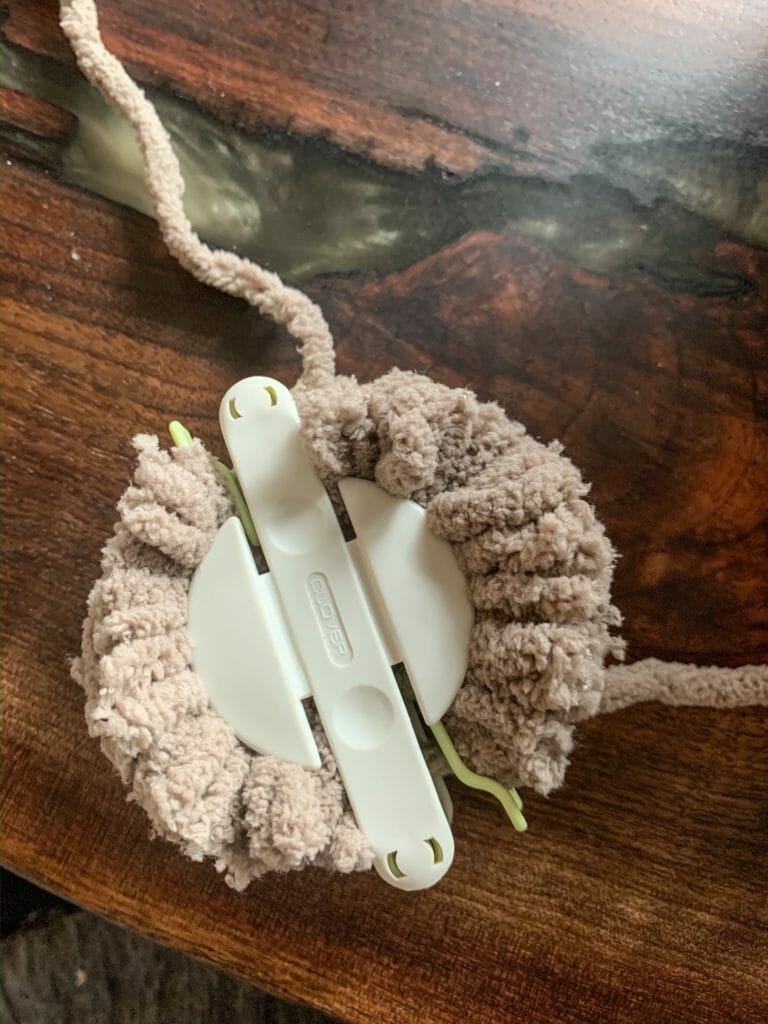
Then you open ip your pom pom maker, and pop out your new pom pom that you made all by yourself with a little help.
Next, you will use those two long strands from the piece you tied to tie your pom pom to the frame, placing the pom pom on the raised side, and tying on the back concave side. Now, this photo is actually incorrect because I want you to learn from my mistake. DO NOT TIE to the exterior wires of the frame… your pom pom will flip around and drive you nuts! Tie it to the interior two wires of the frame. Once you’ve tied it to the frame and knotted it a few times, trim the excess yarn to the same level as the rest of the pom pom.
Repeat this process 5,632 times or until your wreath is filled.
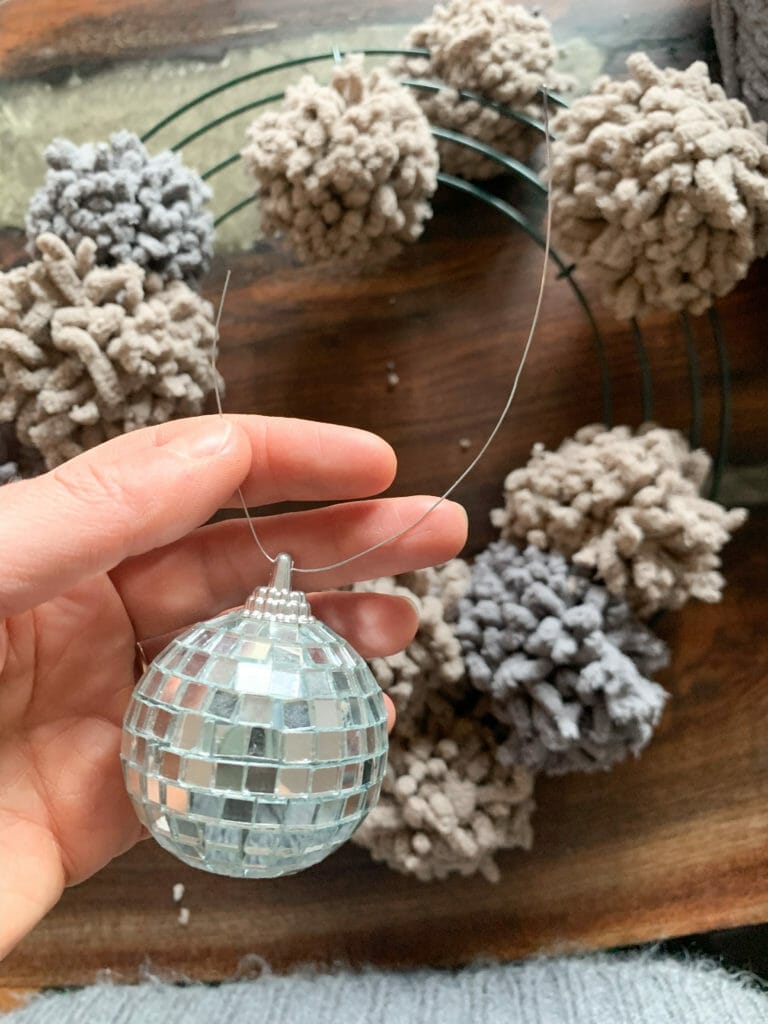
Or if you need a break from pom poming like I did, you can start to mix your disco balls in a little prematurely. You can add these at the end, or work them in as you go. It’s really up to you! For the disco balls, you will snip a piece of wire just six inches long (or less) and loop it through where the ornament hook would normally go.
Then you will make a twist so the ornament doesn’t slip off, place the ornament with the loop end into the wreath, pointing the wires around the thicker wire of the frame, pulling them behind, and twisting them a few times to keep your disco ball in place. This is what it looks like on the backside of the wreath.
Once it’s secure, snip excess wire off.
Here you can see where I had made some progress around my wreath. 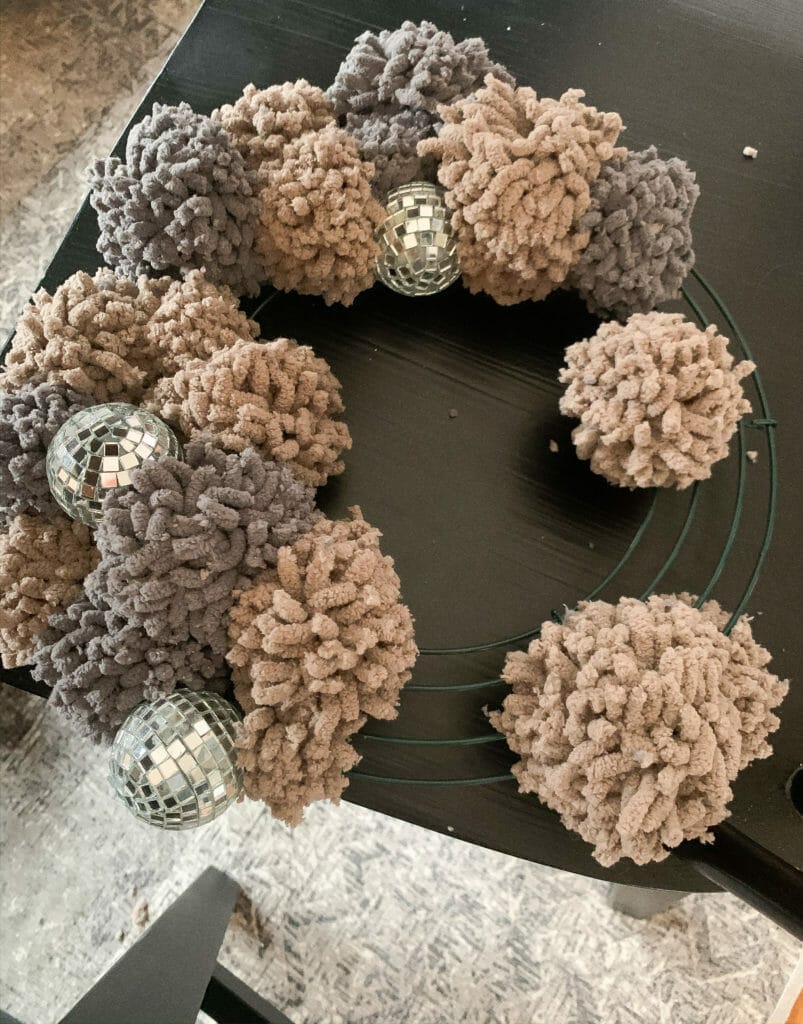 At this time I only had beige and gray but as I approached the end it was feeling a little flay to me, so I added in the vintage white as well. Also, I should tell you that I would have preferred more disco balls, but I was working with what I already had at home.
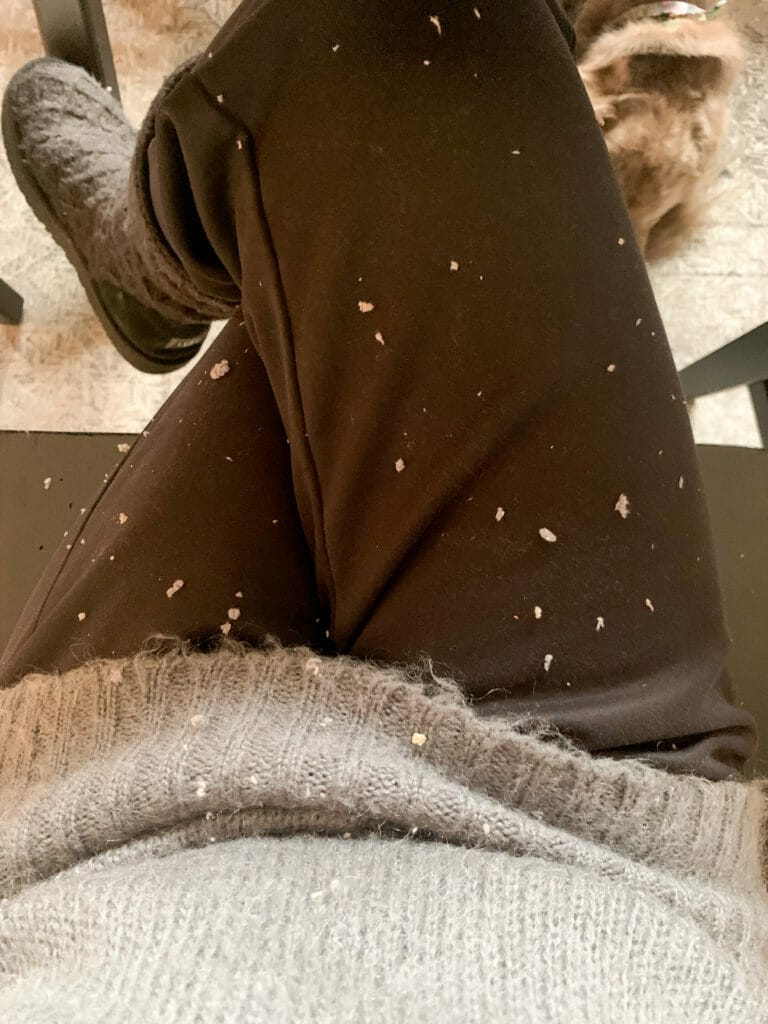
One more thing to note is that after hours of pom pom making with this chunky soft blanket yard, you and your floor will look like this.
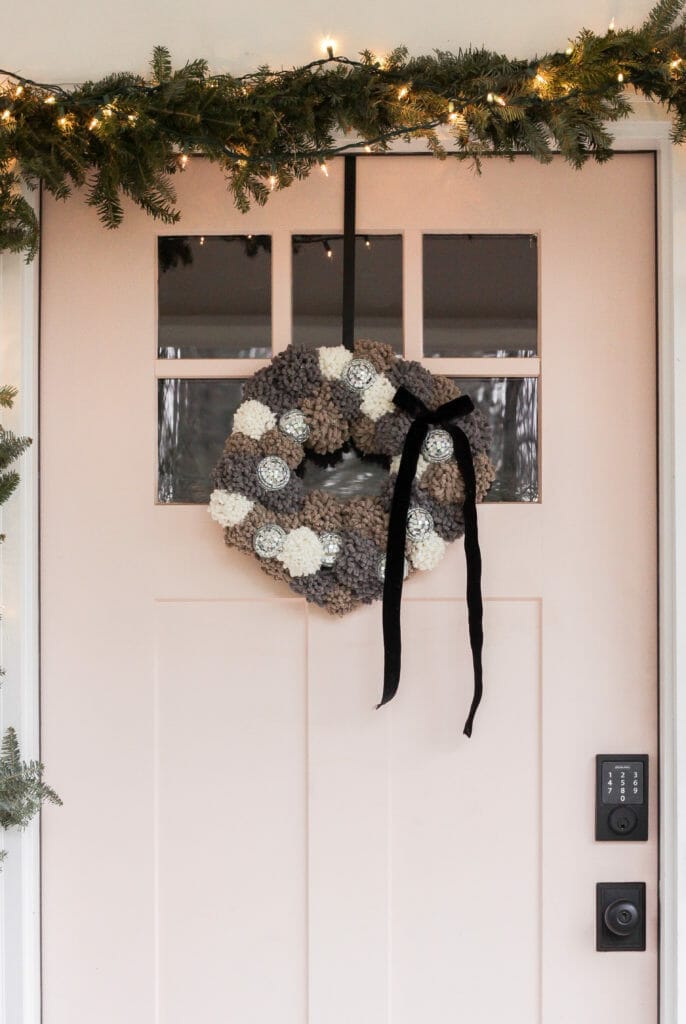
When I was filly satisfied with how full my wreath was, I added black velvet ribbon. I knew that I wanted to have long ribbon tails because they just feel more casual and whimsical, so I cut a rather long piece of ribbon, and tied it directly onto the wire wreath frame. Black velvet is a MAGNET for lint, so I had to clean so much fuzz off of this ribbon after I tied it. 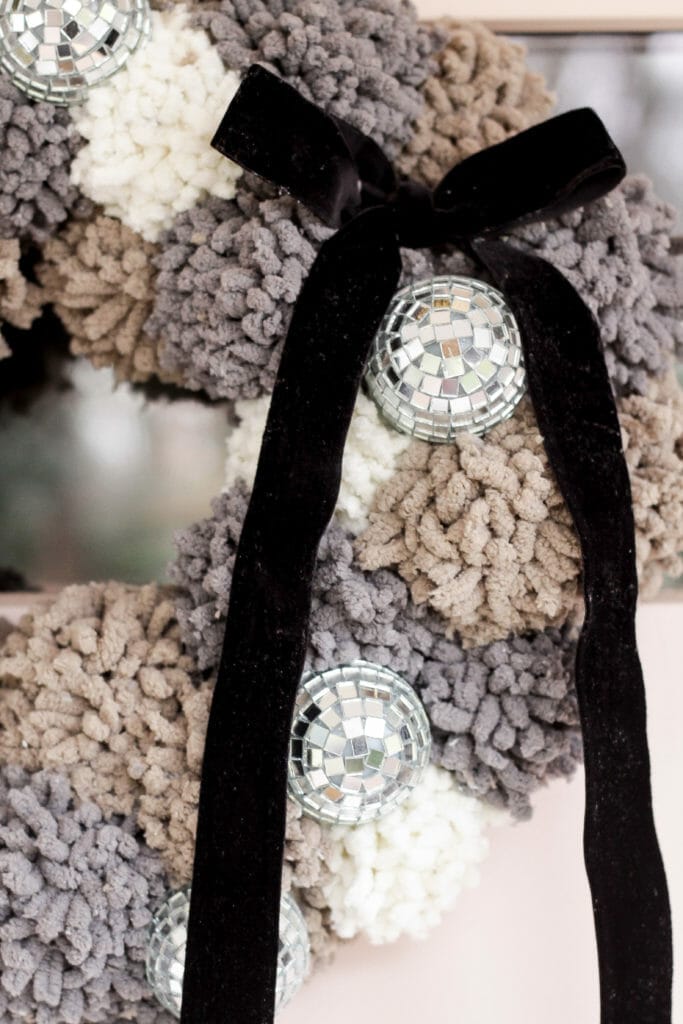
It was worth all the lint I had to clean though because I just love the black velvet paired with the cozy plush yarns and mirrored balls. 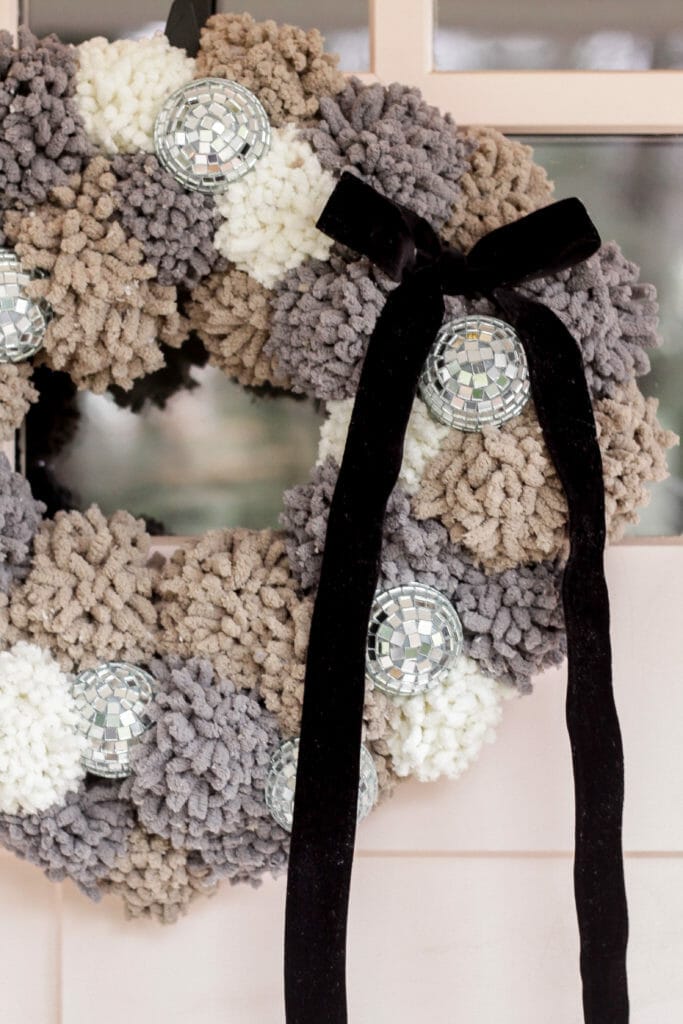
Now here is where I get real with you… I wasn’t thrilled with how this wreath had come together and I was disappointed in myself for choosing such drab colors. However, when I placed it on the pink door… shazam! I fell in love! I truly thought I was going to put it on the door to take some photos for you and then put it in the attic where it could die a slow death and be torn apart one day by mice for their nests. Luckily, its fate is much better and it’s happily staying on my door, until a bird rips it apart to make a nest. 😉 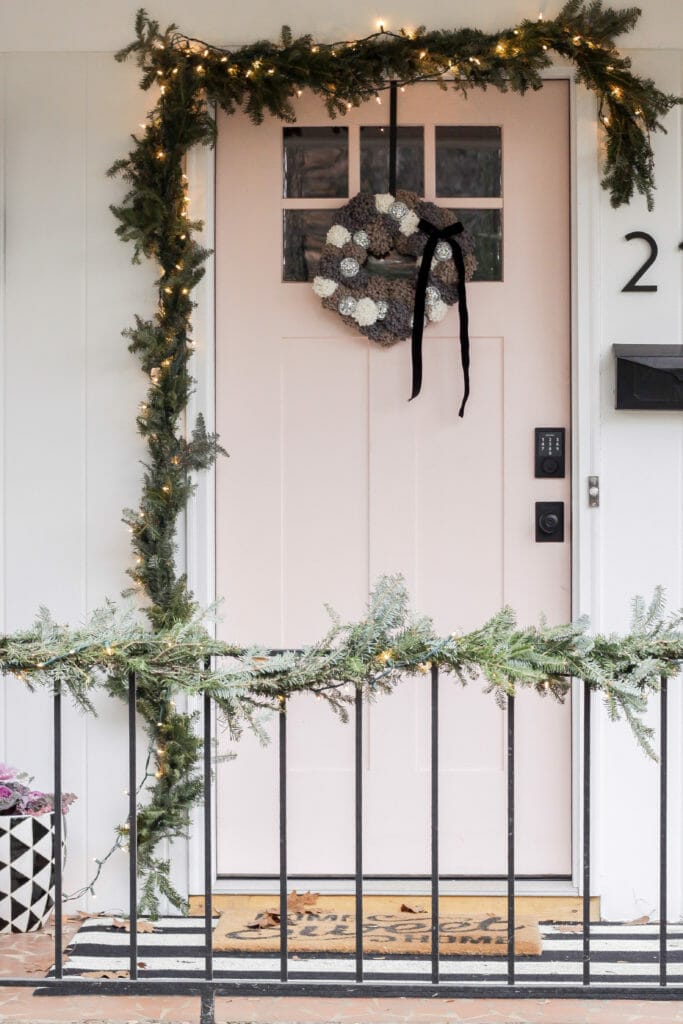
It coordinates perfectly with the brown snowman and his taupe scarf, as well as all of the black and white we have on the porch. 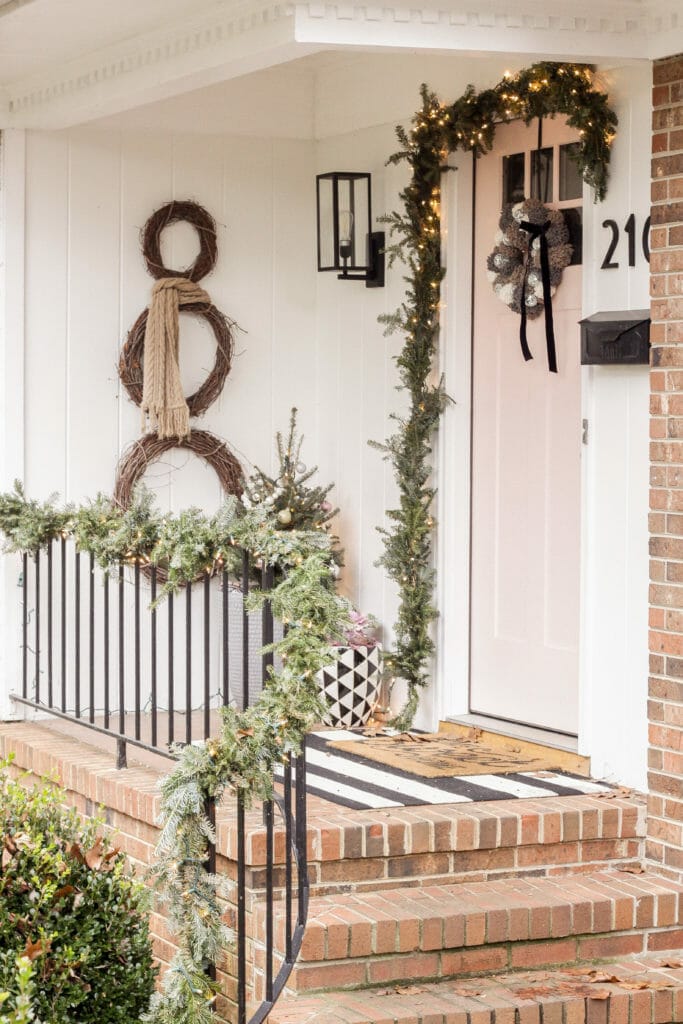
The best part about this wreath though, is that when the afternoon sun hits it, it spreads its magic light (and blinds anyone looking directly at it…)!
Tell me, what are you doing for New Year’s Eve this year? I want to hear all of your exciting plans!
If you’re looking for anything in this post, you can find it here:

Be sure to check out all of the others sharing their NYE projects today as well.

And today I’m joining some of my blogging friends who are also sharing their New Year’s Eve Ideas with you! Just click on the links below the pictures to be taken to their full post.
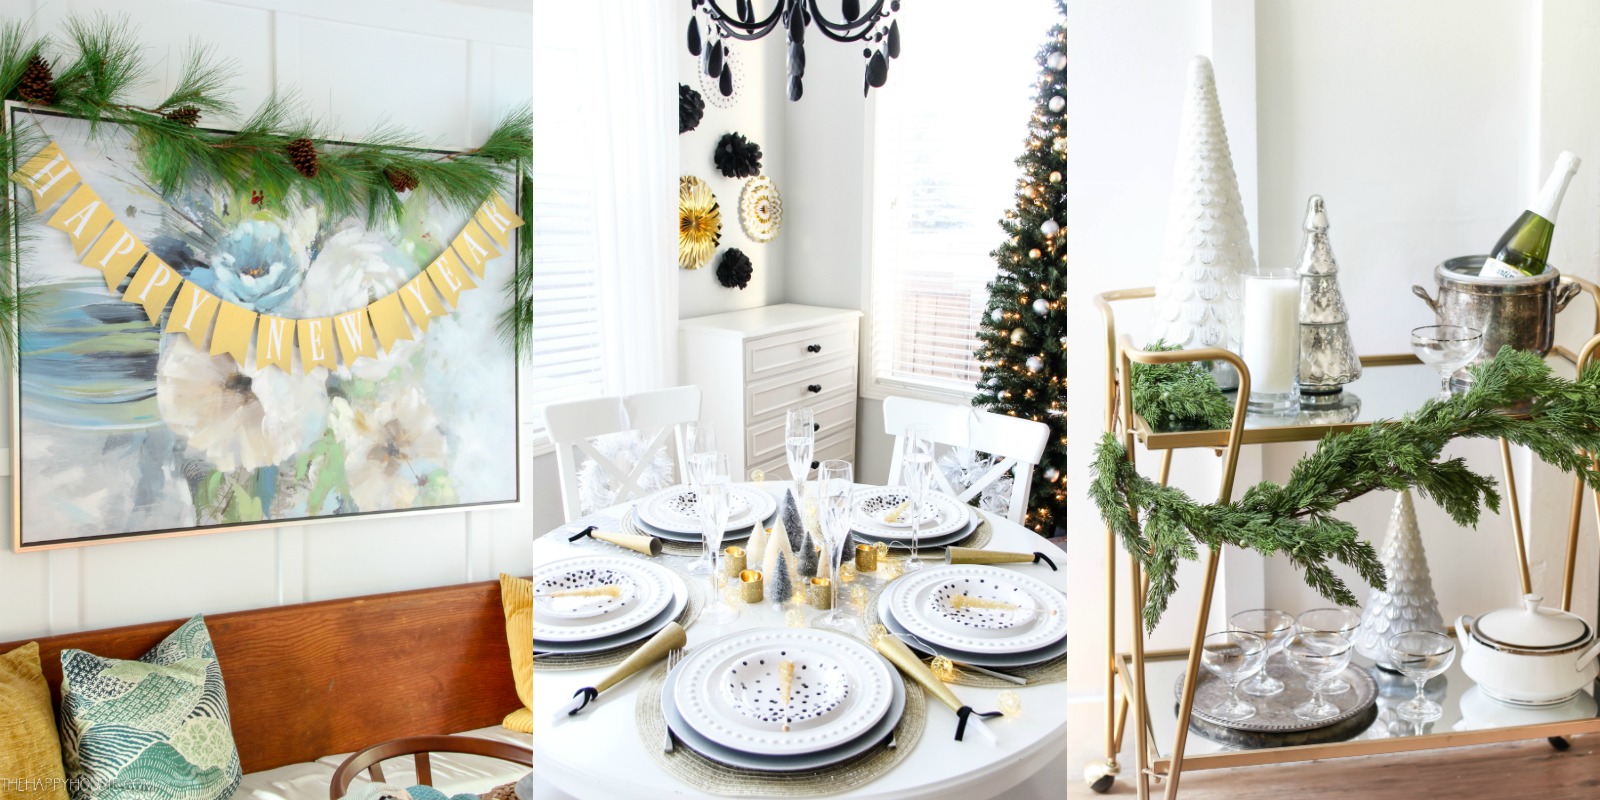
Free Printable Gold Happy New Year & Celebrate Banners at The Happy Housie
Easy New Year’s Eve Table at A Pretty Life
How to Style a New Year’s Eve Bar Cart at Rooms FOR Rent
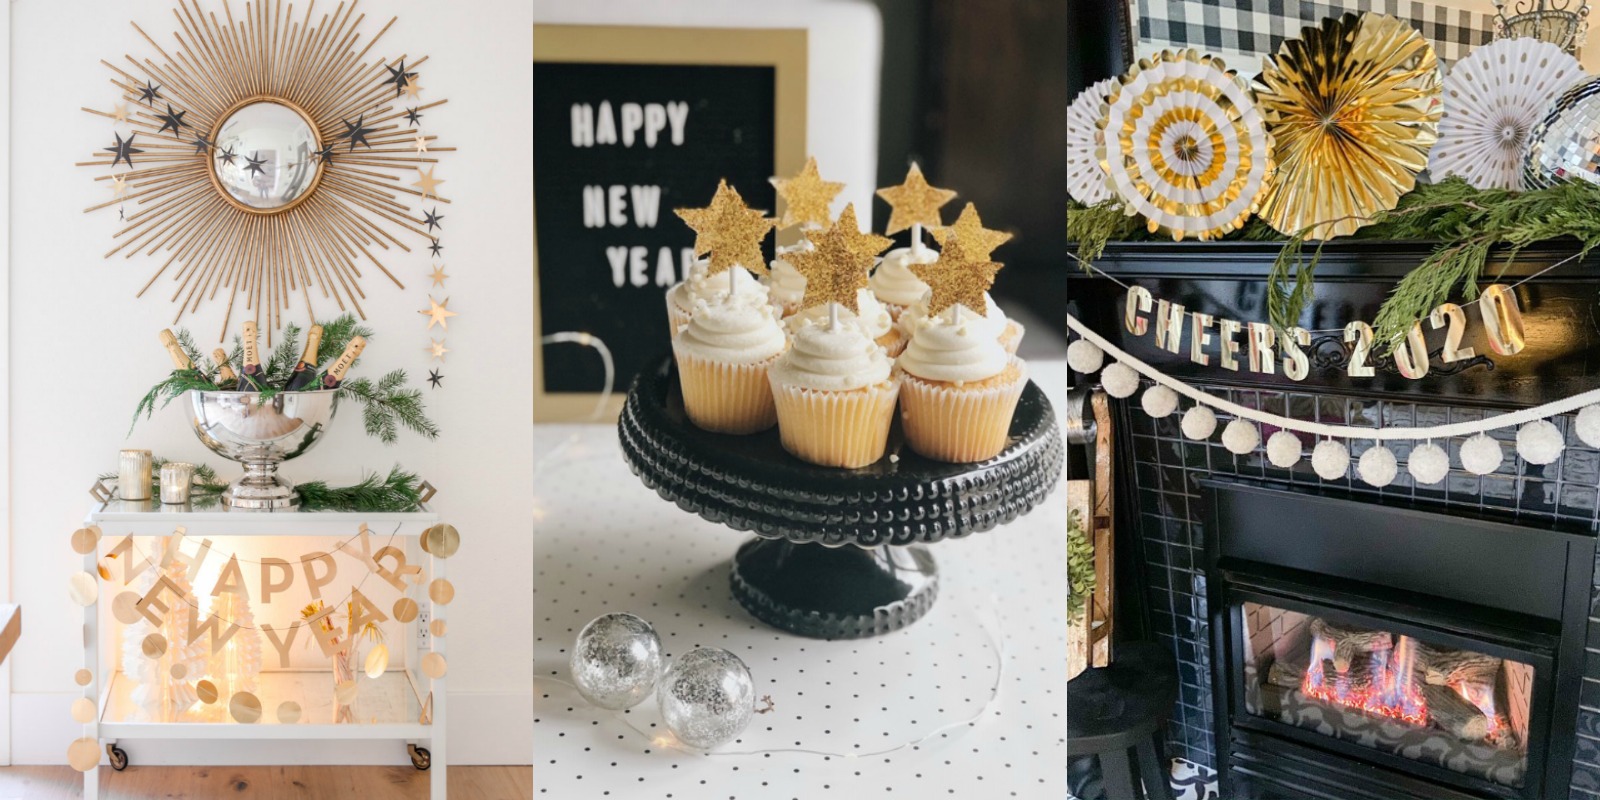
Festive Bar Cart for New Year’s Eve at Modern Glam
Best New Year’s Eve Cupcakes at She Gave it a Go
DIY New Year’s Eve Cheer Garland and Printable Template at Tatertots and Jello
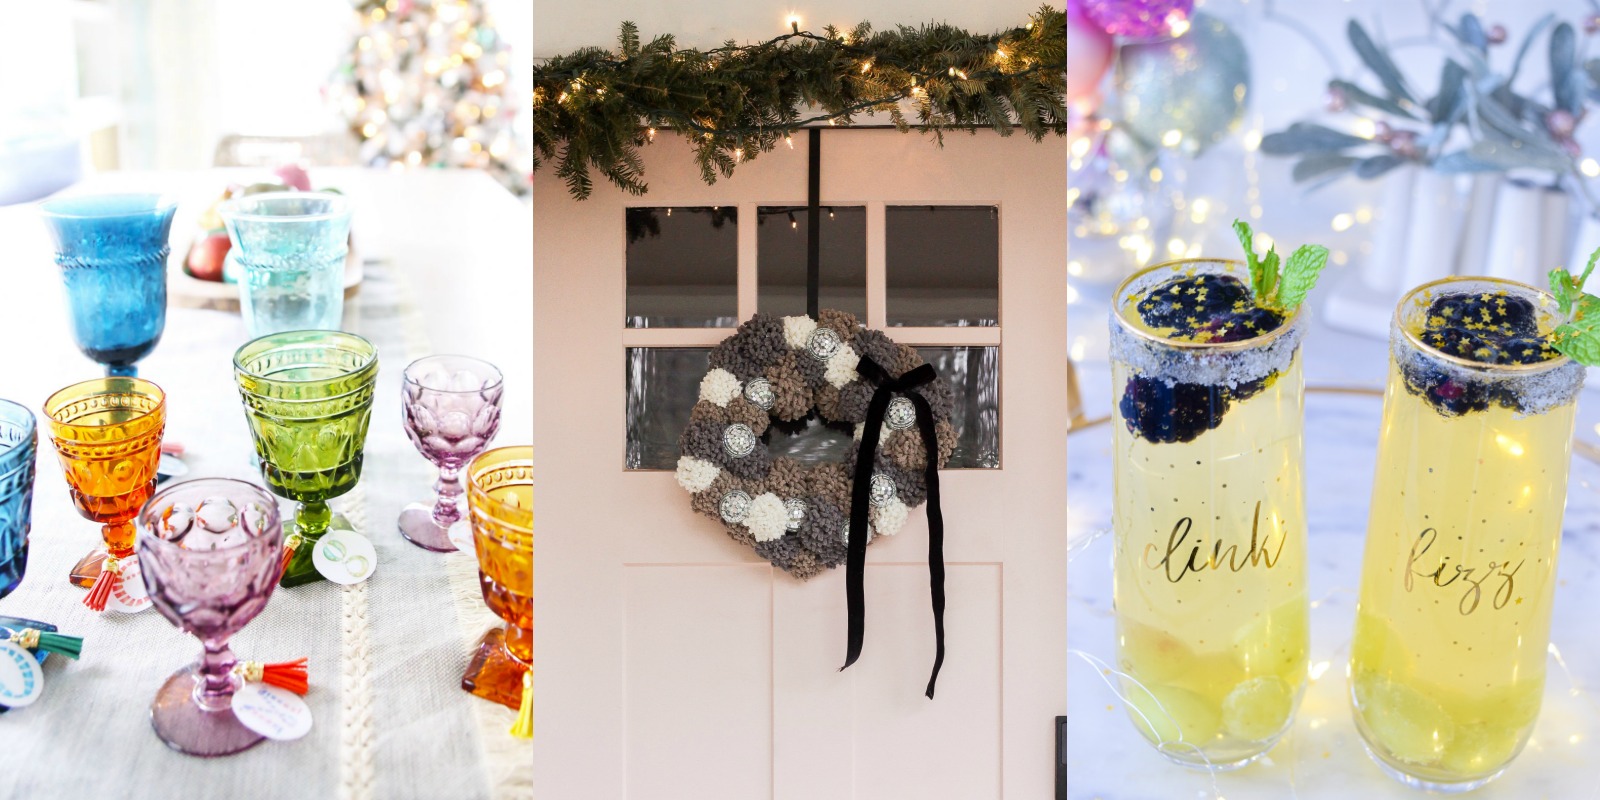
Free Printable Drink Charms at The Handmade Home
Pom Pom and Disco Ball Wreath at Cassie Bustamante
New Year’s Eve Champagne Sparkler Cocktail at We’re the Joneses
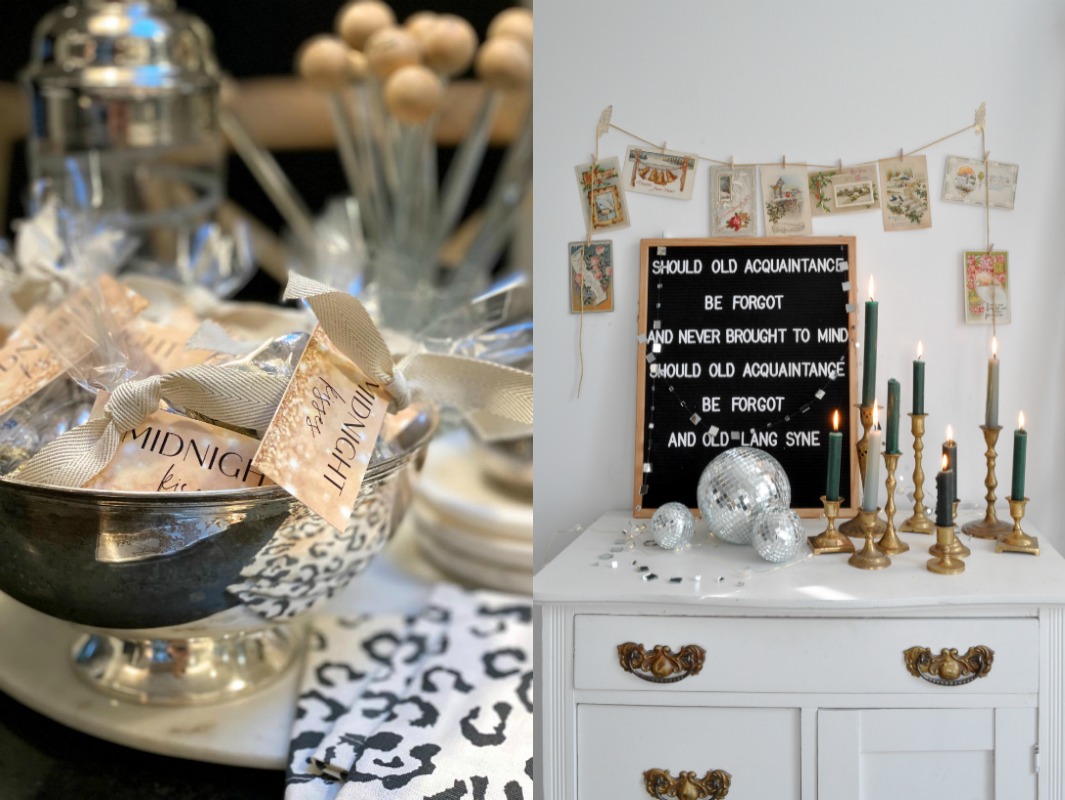
Midnight Kisses Printable at My Sweet Savannah
Vintage New Year’s Cards Free Printables at Life is a Party