How to Hang a Traditional Wallpaper Mural
For those of you who have been around here a while, you might remember Emmy as a girl who loves color. Her bohemian bedroom in our old house was filled with bright colors, and truly suited her sunny and creative personality. When we relocated to North Carolina last year, something happened and suddenly she wanted a calm and neutral space. Her bedroom was already painted a gray with a hint of lavender when we moved in and she liked the color. She selected a new bed with neutral cozy layers, cream and black rug, and had white furniture from her old bedroom to use here. She was happy, and honestly, her quick bedroom makeover is one of my most popular posts on this blog. I honestly think she was going neutral to sort of cleanse her palette and really think about what she wanted rather than rushing into something crazy. After living in her space for a little over a year now, she’s ready to infuse more personality. Last fall she started asking me about hanging wallpaper in her room, and you know I was excited about that! Today I am going to show you how to hang a traditional wallpaper mural, as well as a little progress son the update in her room (which all came about because we needed more storage for her millions of gel pens and other art supplies. 😉 ) Thank you so much to Murals Wallpaper for providing the wallpaper for this project. I was not otherwise compensated and all opinions and photos are my own. I have also used affiliate links for your convenience and I do earn a small commission from qualifying purchases.
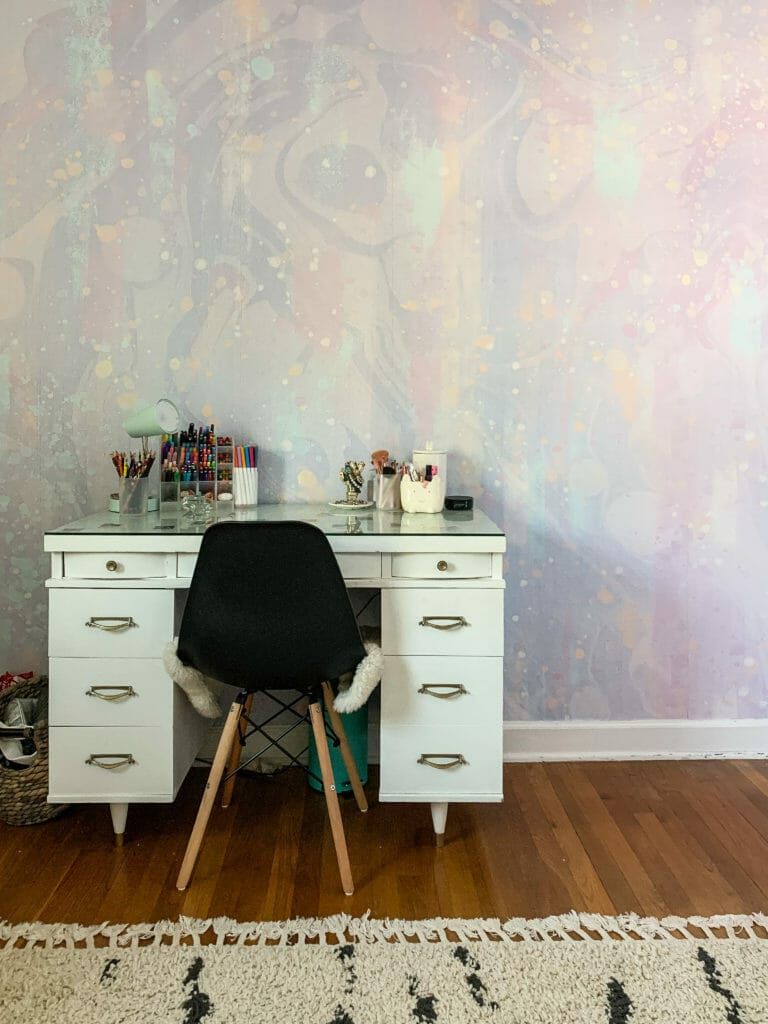
As I mentioned, Emmy came to me last fall and said she was ready for a little more fun in her space and wanted wallpaper. We took to the internet and perused. Of course, I selected several while she was at school that I thought were so fun, but she had very different opinions than me. She made her own list, and this “Explosion” paper was on it. I recall saying to her, “That’s really lavender… are you sure that’s what you want?” Neither of us have ever been a big fan of purple, but she was certain. She loved all of the colors in it and how the lavender was more a mix of blue and pink, and then there was the touch of gray and a soft coral. We went with it, and I am so glad we did! It’s so much fun and totally suits her personality.
Now let’s talk about the nitty gritty details of how I hung this mural. So far in this house, I’ve used a couple of removable adhesive papers, but hadn’t hung a traditional style yet. However, I did have experience hanging paper in Wilder’s closet in our last house, and I knew this one wall with no windows and only one outlet would be relatively easy to tackle. Before I started hanging this mural, I reread my own tutorial, and I also checked out the directions on the Murals Wallpaper. With a project like this, it’s important to read directions and make sure you have all the supplies you need before you get started… trust me. 😉
Materials Needed
- wallpaper mural
- wallpaper adhesive
- bucket
- wallpaper sponge
- wide angled paint brush
- wallpaper smoothing tool
- exacto knife
- plumb line
Instructions
Prep your wall by cleaning it with a damp rag and allowing it to dry, fill any holes that need filling, wipe off the baseboards and the abutting ceiling as well.You may wish to prime your wall and most wallpaper manufactuers, Murals Wallpaper included, will advise that you do so. I chose not to simply because the color on the wall was not too far from the color of the paper and I thought it would be fine. Also, I am lazy. 😉
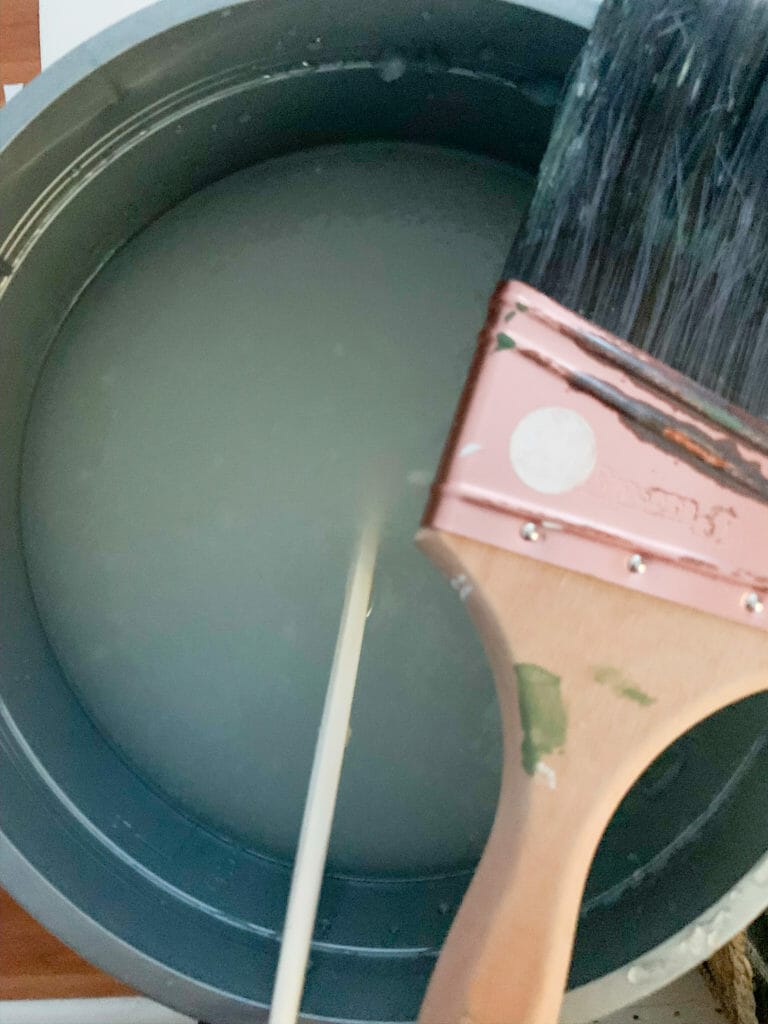
Mix your adhesive. I selected this adhesive because it came in a small container in a powder form and I knew it would be easiest for me to store when I was done with it. I simply mixed in my bucket according to the instructions on the box. Of course, I didn’t have a paint stirrer around, so I used a wooden chopstick to stir as seen below. Hard times have really fallen on us. This particular brand needs to sit for 10 minutes before using, so I allowed it to sit while I prepared my wallpaper.
 Murals Wallpaper prints the mural in sections with visible cut lines in between panels so you can easily unroll and cut on the dotted line. There’s a white strip between each section so it’s easy to find the division.
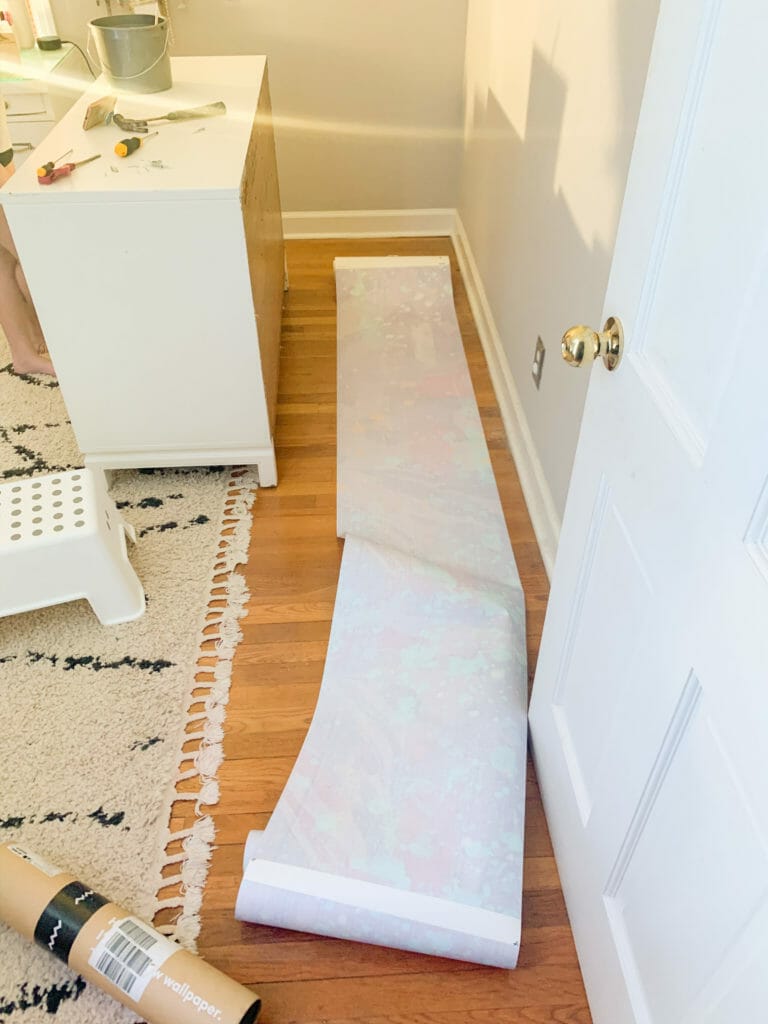
They suggest laying it all out on a flat surface, but our house is not too big, so I just unrolled the first piece and cut it off. The mural is printed in a left to right pattern, so you want to start on the left side of the wall you’re working on.
Once the first section is cut and ready to hang, place it without paste on the wall just to make sure it does in fact fit. You should have a little excess on the top and bottom.
After confirming that the paper will indeed fit, you’re ready to start, and by now your adhesive is ready to go!
Using an angled paint brush, cut in on the edges carefully and paint your wall with a thin layer of adhesive a little wider than the actual panel. You don’t want to have any dry spots left where you’re going to be working with your panel.
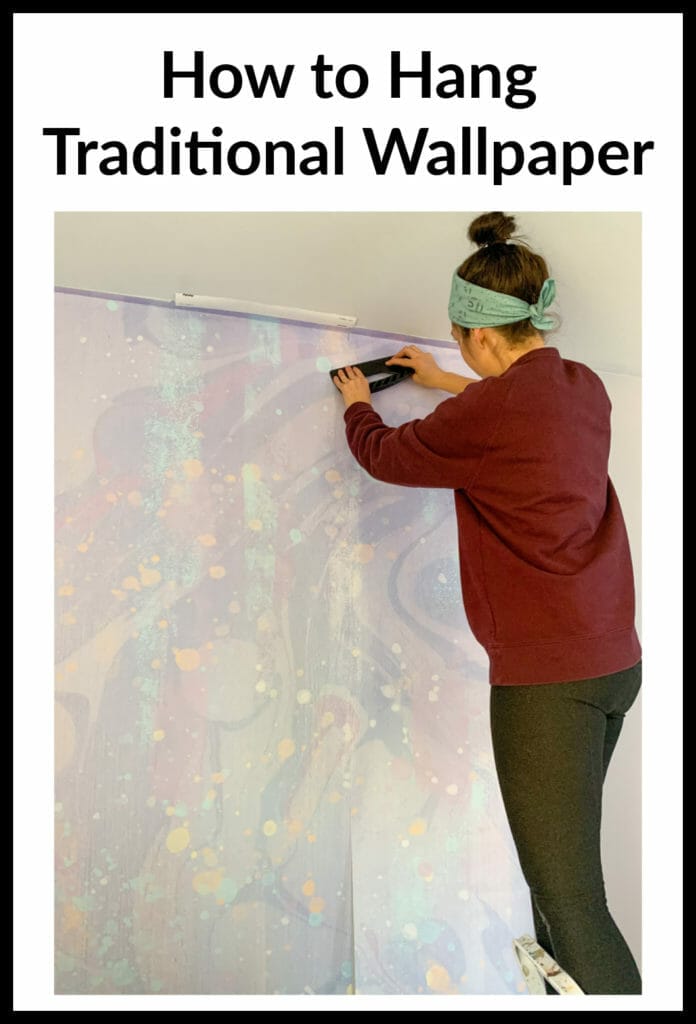
Starting with the top left corner, apply your paper to the paste, and leave a little excess of about 1/2″ going into the corner which just allows room for shrinkage if that occurs. After the top of your first panel has been applied, use a plumb line to make sure that your panel is straight. The string of the plumb line should line up with the edge of the panel. If it doesn’t, carefully remove your panel and adjust it until it is straight with the plumb line.
Using your hands, continue to apply the rest of the panel, and use your smoothing tool to press out any air bubbles. I like to do this in an angled downward motion and push the air out towards the edge to release it.
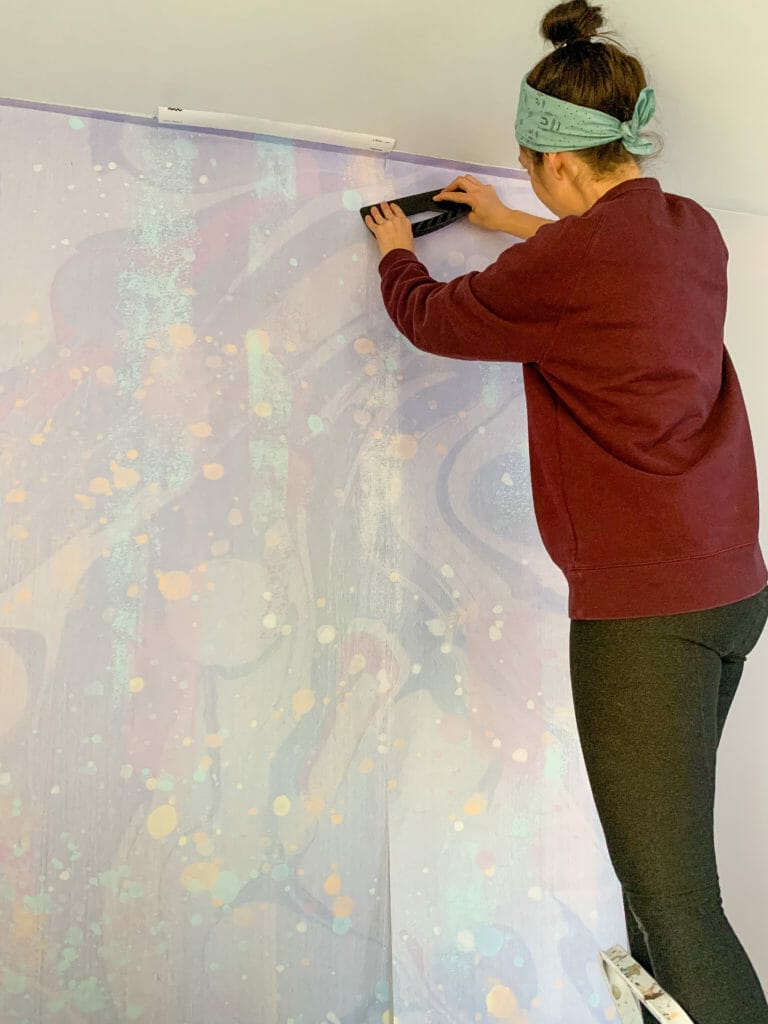
Continue all the way to the bottom of the panel, and again you should have a little excess at the bottom where you bump into the baseboard. Leave the excess for now.
To apply your second panel, the key is to now line up your design so that the graphic matches up. Apply your paste to the wall, just as you did with the first panel, and line up your design, ensuring your panel is straight, and smooth with your hands as you press. Finally, smooth it with the tool. Use a sponge damp with water to clean away any excess paste from the seam.
A little note here: Typically you want to overlap your design a teeny tiny bit to allow room for shrinkage of the paper. Murals Wallpaper specifically said to but the paper right up and do not overlap. However, I wish that I had overlapped a little bit because the paper did indeed shrink a bit and left a tiny gap in some spots as you can see here. I am glad I didn’t prime the walls because this color sort of fades into it and it’s not noticeable, but I wanted to mention it.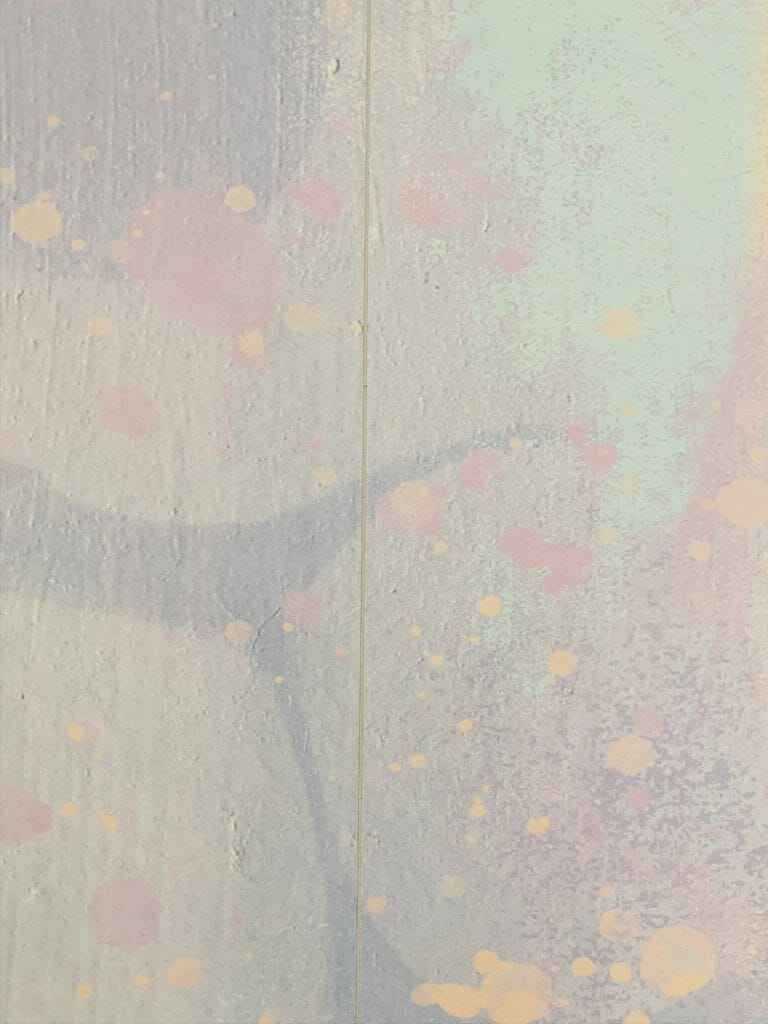
Continue along repeating the same for each panel, leaving a little excess at the top and bottom, lining up the design. Murals are made to order, so this piece was made to fit our wall, and I was left with a little extra in the corner.
After all of your panels have been hung, allow to dry with the excess still in tact.
Once everything has dried well, use a straight edge and an exacto knife to trim all of the excess paper from the edges. If you notice any corners that aren’t quite stuck, you can reapply adhesive and smooth it out after it’s trimmed. I had to do that in one corner.
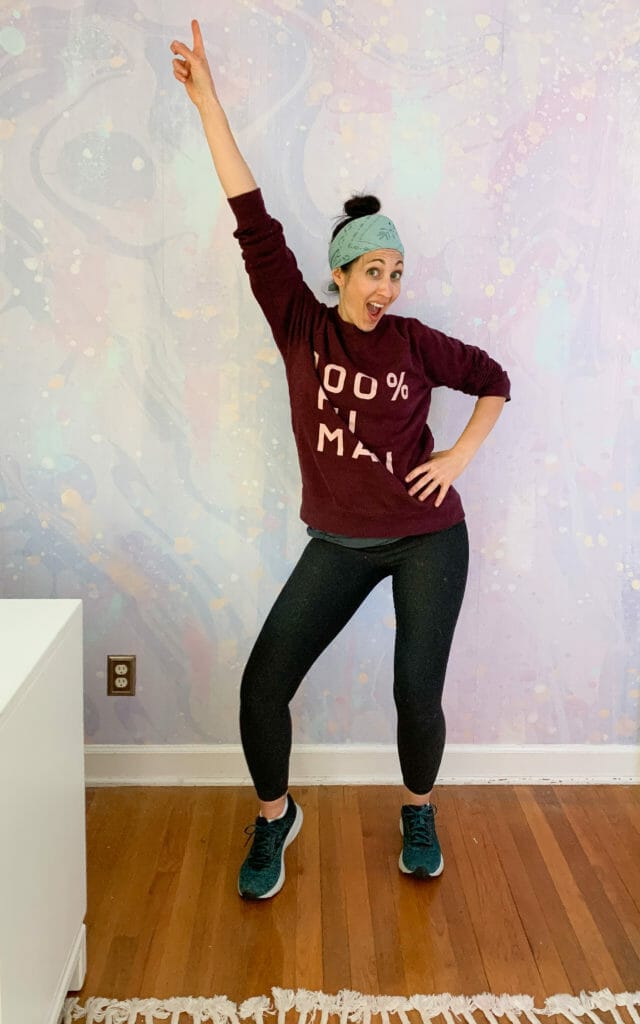
Finally, celebrate that you finished!
Now that we’ve gotten through the how to, I want to share a bit more about the plans in here.
As I mentioned the real need in this space is storage. Emmy’s current bedroom is not much smaller in size than her last one, but it’s lacking the functionality of her old room. This bedroom has one awkward closet with duct work, compared to her prior two double closet situation, where one closet was dedicated entirely to craft supplies. We’ve added lots of under bed solutions as well as a Kallax bookshelf, but what she desperately needs is easy access storage for all of her art supplies that she uses daily.
In Sawyer’s bedroom, we added track shelving on either side of his bed, and it was an easy and affordable solution. 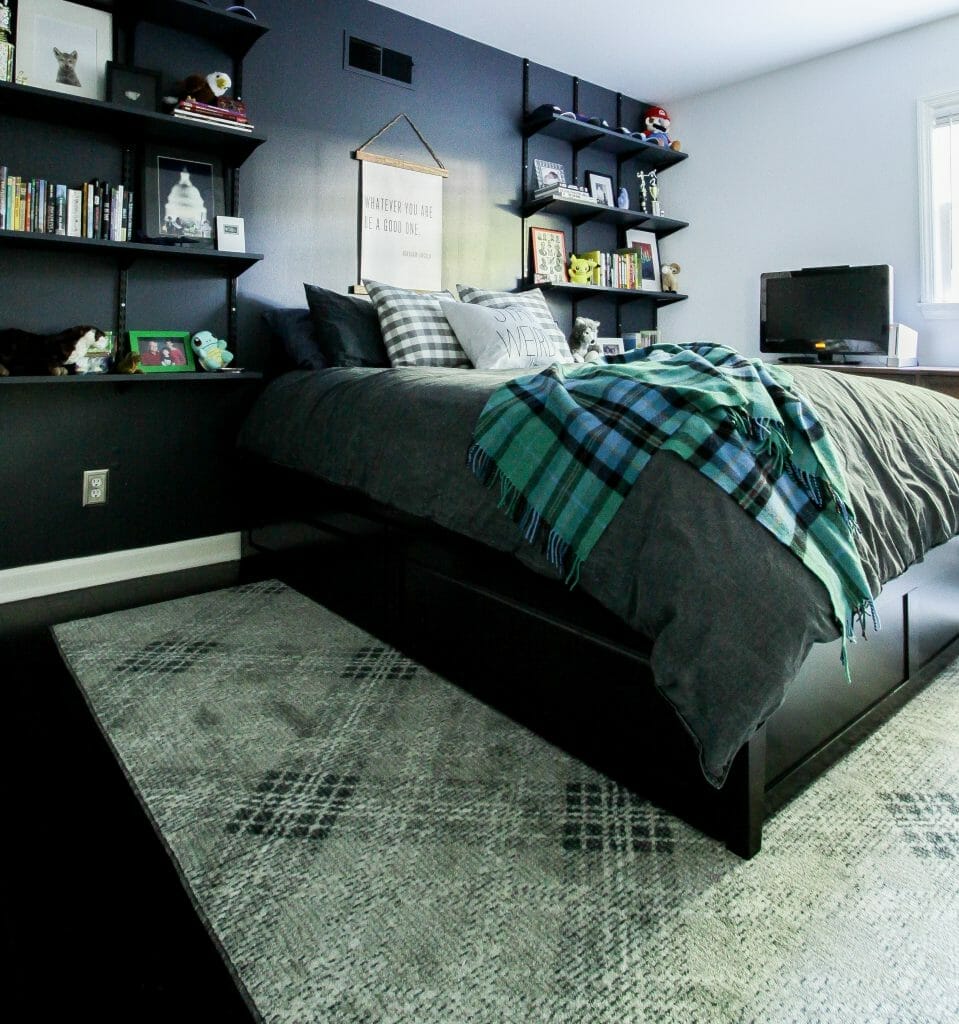
I suggested we could move Emmy’s desk to the wallpaper wall and build white track shelving around it, or she could select some brackets and we could hang other shelves. She loved the look and storage options that track shelving offered, so she opted to do that in white.
This past weekend after the wallpaper was in place, I got to work on the track shelving, and here’s where we are today…

This coming weekend, we’re planning to actually make some progress on the shelving, but we’re not yet decided on white or wood, but I am sure that I will be sharing that project here at some point soon. 🙂
I have to admit, in this really weird time in history, these projects are keeping my happy, fulfilled, and purposeful. I am grateful to have distractions to engage my mind and body, and currently look forward to the projects we get to do each weekend with fervor. During the week, I am walking miles each day, running, biking with Wilder, and doing smaller projects I can handle with a toddler around. Sir Isaac Newton once said, ” a body in motion stays in motion”, and while he was applying it to physics, it suits my life right now. It’s imperative that I stay in motion because left to my own devices, I tend to sink into negative feelings. What are you doing to keep your mind and body busy these days?

Like this project? I’d appreciate if you shared it with your frinds!